Miniature Dollhouse Notebook DIY Tutorial & Free Printable
Today I am super excited to share this miniature dollhouse notebook tutorial and a FREE printable so you too can learn how make your own mini notebooks.
Whether you are making a dollhouse, a shadow box, diorama or having fun with mixed media assemblage art, these notebooks are super cute and easy to make.
I love all things notebooks, so of course we have to have one in miniature size!
These are made with very basic supplies you likely already have at home.
Best of all, this is a real, working notebook where the pages flip – so if you’re up for writing in teeny-tiny size, you can always write some notes in them also!

The nice thing about these notebooks is they can work in both 1:12 and 1:6 scale fairly easily. It will be a bigger notebook in 1:12 scale, and a smaller notebook in 1:6.
In 1:12 1 inch scale, the final product is close to the size of your typical school notebook – which measures around 11 x 8.5 inches here in the United States.
Working in the 1:6 scale? Have no fear, because this notebook printable & tutorial will still work just fine for you, it will just be closer to an 8.5 x 5.5 notebook size. And for my friends everywhere else in the world, in 1:12 scale it will be close to A4 size, in 1:6 scale it is closer to A5 size.
How to Make The Miniature Notebooks

Making these notebooks is SUPER easy. You can also download the free template at the bottom of this post to print and use to follow along with the directions listed in this post. You can also watch the step-by-step video that shows the process.
Here’s What You Will Need to Make These Mini Notebooks:
- Print-out of free notebook template {Download at Bottom of this Post}
- Scissors and/or Paper Cutter
- Glue Stick or Tacky Glue
- Small Piece of Card Stock {To make for a sturdy cover}
- Binder Clips {Optional: useful for clamping down while glue dries!}
- Pencil or Rounded Paintbrush {Optional – Helps to shape the book cover}
- Washi Tape {Optional, if you want a “fancy” interior!}
Most of these things are pretty common and it’s likely you already have these at home. The binder clips, a pencil, and washi tape are totally optional, so if you don’t have those things handy don’t worry about it.
These also don’t make much of a mess – you could easily make them anywhere.
Video Tutorial of How to Make Miniature Notebooks
While the video explains everything pretty clearly, I wanted to also include step by step written instructions also. I know I appreciate both videos and written instructions, so hopefully the step by step directions below will help!
Step 1. Print & Cut Out the Book Pages and Book Cover
You can download the free printable file at the bottom of this post. The file includes the pages and covers to make 3 notebooks total. If you only want to make one notebook, make the two extras and send them as a little gift to a friend who is enamored by all things miniature or all things notebooks. 🙂
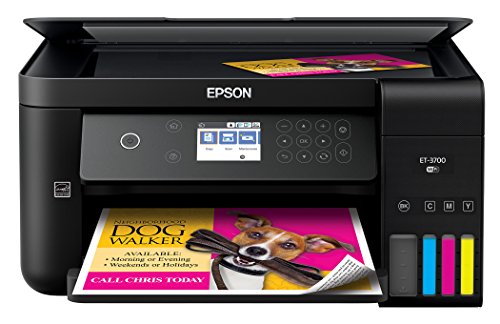
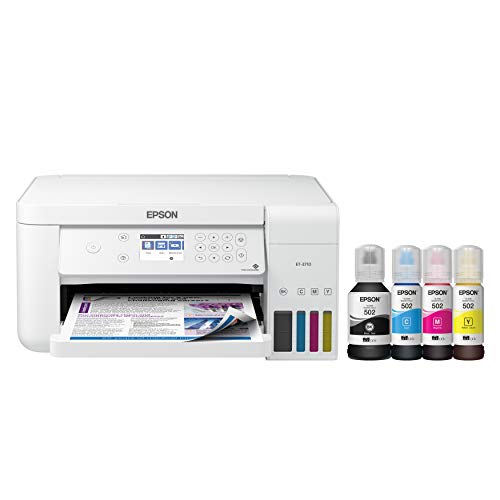
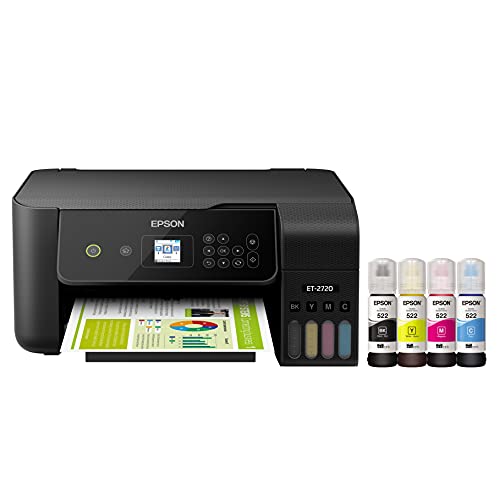
I printed my book template out on regular copy paper with an inkjet printer. We invested in an Epson EcoTank printer a few months ago and I LOVE it – I am not longer constantly buying ink for the printer!
I print a lot of things for crafts, and the kids constantly have school projects, and it’s still going strong. If you do a lot of printing like we do and are sick of spending a ton of money on ink that constantly needs refilled, it’s seriously life changing.


Once printed, I used my trusty paper cutter like this one to cut out the book page strips. It really makes it a lot easier to ensure nice, straight edges. Of course, you can also use scissors.
Also, a little cutting tip, since I almost accidentally did it myself – make sure you make a vertical cut to cut the strip of book COVERS away from the page strips first. This will help prevent accidentally cutting too far with a paper cutter.
If you are super lucky and have a Cricut Maker or Silhouette Cameo cutting machine you could also import the file into the software and print and cut it that way.
Since these are so easy to make. I didn’t include any SVG files in the download, but the cutting machines have REALLY come a long way these past few years and are really nice to have for making other dollhouse miniatures.
Step 2: Make the Cover
The cover is very simple and easy to assemble. I cut out a piece of card stock that is around the same size as the cover, and then glued the cover onto the card stock.
In future mini-book designs, I will probably make it so the cover is big enough to fold over the card stock. That would help for it to be a little bit neater and of course more authentic to how book covers are actually created.
Optional: For the second mini-book I made, I decided to try putting washi tape on the back of the cover. It turned out pretty cute, since a bit of it shows through. Totally optional, just thought it was fun. Yes, washi tape is fun. For everything. 🙂
Once everything is glued, you will want to next wrap the spine of the book cover around either a pencil, or in my case as you’ll see in the video, the back of a paint brush. This will help make it nice and rounded. If you prefer a notebook that is more square, you of course can always score and fold it on the lines where the cover meets the spine the same way we did for the book pages.
Step 3: Score & Fold the Book Page Strips
Once the pages are cut out, the next step is to score and fold the book page strips. To score the folds before you fold, you can use scissors or what I so affectionately call my pokey-stabby-tool {more properly known as an awl}.
From here, we are going to do an accordion fold.The folding part can be confusing to explain, but it’s actually very easy to do. Basically we just fold the paper so all of the notebook lined pages fold into each other.
You’ll notice on the edge of each strip is a page that is blank and doesn’t have lines. These are going to be our inside cover pages that actually hold the book in place.
Another thing you’ll notice is there are two strips of book pages for each notebook. Yes, it’s kind of thick, but I like my notebooks in real life nice and thick and filled to the brim! We will glue these two together so that the notebook is filled with lots of pages.
Of course, you can always use just one strip or cut the other strip to be a little shorter if you’d like. Totally up to you.
If you want very neat, crisp edges, go over with the edge of your scissors to burnish each fold. It’s kind of difficult to do in miniature size, but it will give you nice folds that are more uniform and even in size.
Step 4: Glue Together The Pages
Gluing the pages is pretty straightforward. Once you have all the book pages folded, we are going to make it so they stay together! You want to make sure when you glue you only put glue on the back of the sides that have the lined notebook pattern. The blank pages are going to be used to create the inside cover part.
Once everything is glued together, this is where that binder clip will be very helpful for you! Simply clamp it on the book pages and let it dry for a few minutes, depending on what type of glue you are using. With a glue stick, this should only take a few minutes, but tacky glue may take a little longer.
Step 5: Glue the Book Pages to the Cover
It’s time for our miniature notebook to come together! For this last step, place some glue along the inside of the spine of the cover, and then a little bit on each of the inside flaps of the cover. Press the book spine into place, and then press down on each of the blank pages of the notebook that make up the inside of the cover area.
Clamp it down with a binder clip, allow to dry, and then enjoy your teeny-tiny 1:12 inch scale miniature notebooks. These are perfect for dollhouses of course, but they are also definitely something any one who loves notebooks, writing, or art will love.
Download the Free Printable Miniature Book Template
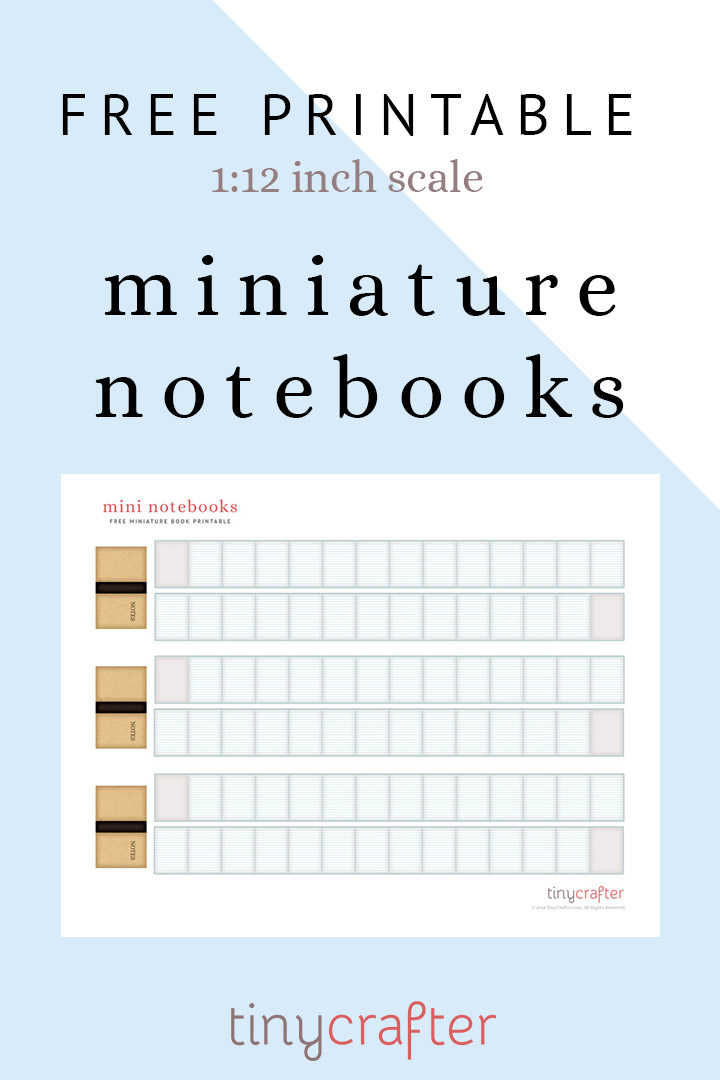
Here is a preview of the free printable miniature book. Note that this picture shown here is only a preview and is optimized for web size, not print size. For the high resolution file make sure you use the download link!
The free printable is a PDF in a .zip file. This is to keep the file size smaller for faster downloads while making sure the print quality is absolutely high resolution.
With most computers and laptops, it is very easy to open .zip files. You usually just need to either alt-click and select “extract all” if in Windows or if on Mac you just need to double click on it to open it.
Once the file is open, you will see the PDF file. Simply open it, print it and enjoy! Click on the button below to download the file!
I hope you enjoy this free dollhouse miniature printable and love making these little tiny notebooks as much as I do! I definitely think I am going to have to design more little miniature books – they are so fun to make. Are there any themes or types of books you would like to see?
Let me know in the comments if you have any ideas for what types of books I should make next and of course let me know if you have any questions on how to make the miniature notebooks.


awesome stuff! thanks!
You’re welcome Alice!
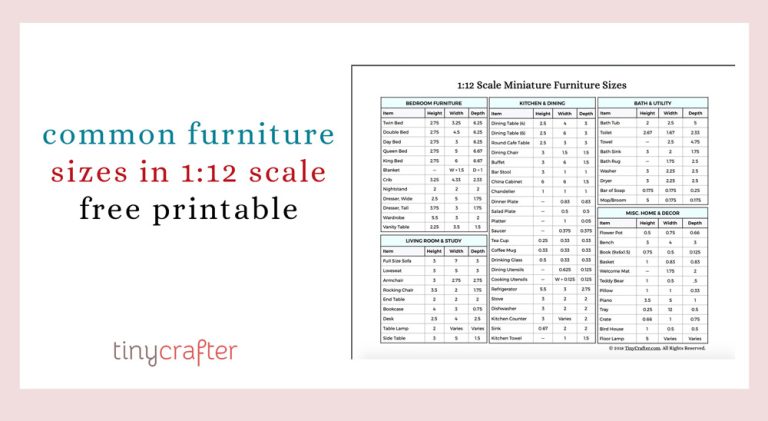
Thank you for these wonderful printies! I have made an extra copy of the measurements page to carry
with me when I shop, and I know it will come in handy. I have been in the process of making books of all kinds for a planned library room box I want to do, for some time now. I have a cigar box full of little books, and I am excited to include some from you as well…Thank you again!
I’m glad you found it helpful! They are so fun to make!
I made some old USArmy TM manuals with your templates for my WW2 dioramas. Very good even at 1/12 scale. Will be soon on my new website.
Very cool Ian, glad it was helpful for you!
Is there a miniature font you’d recommend? I’d like to make some custom text for my notebook and can’t handwrite that small.
Thank you so much – have been struggling with making mini books, and this is perfect! Is it possible to also have blank pages available? I would love to do an illustration one for a friend for her birthday 🙂
Hi Pam, if you would like to make blank pages, you can cut a blank sheet of paper and just fold it like you would for the lined pages. 🙂 Hope that helps!
Thank you for the wonderful tutorial and template!
I have been searching all over and I haven’t found the information I needed:
How do you make the templates?
I have a book I have put together that I want to miniaturize 1:12 (no copyright issues as I have written it and drawn the illustrations..and this is personal use only). I can’t for the life of me find a tutorial on how to make that template so I can make the book like your tutorial.